Because you only have a few seconds to capture the attention of your potential clients, you must make every second…or millisecond…count. And you can accomplish it with stunning product photography.
Product aesthetics are important no matter what you’re selling, from beer to hoodies. We’ll provide you with terrific product photography ideas in this article to help you capture outstanding product images that will captivate your customers and help you sell more. Read on!
1. Create a Scenery For the Product
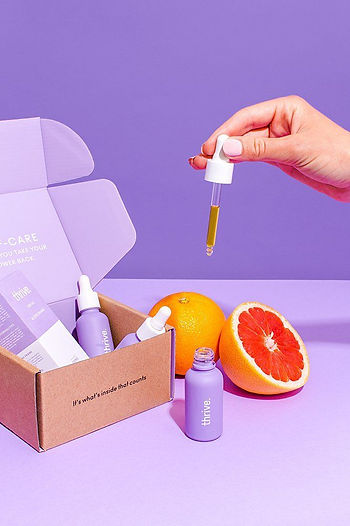
This is a large area to cover, so let’s get started! When shooting your goods, remember to consider not just how your product looks, but also the surrounding location. You can utilize your background to assist you market the product in the shoot. You’ve probably heard the phrase:
“Sell a good night’s sleep, not the mattress.”
Whatever you’re selling, the same rules apply. For instance, instead of selling alcohol, sell a nice time: Basically, let your product shoot communicate a great story behind the product, not the money it’ll generate.
Such photographs are especially noteworthy because they depict the product in its intended surroundings. Customers can visualize themselves using the product in the surroundings of your product shot, which will help your clients sell more!
Of course, orchestrating such kinds of photos requires a lot of forethought, so another option is to stage a scene using props.
2. Try Micro Shots
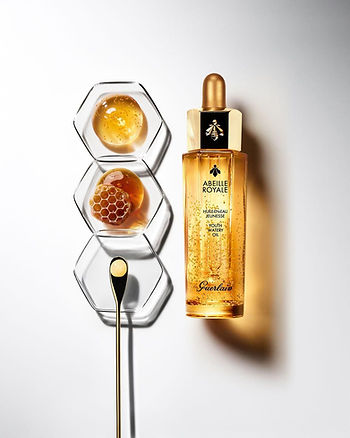
Macro photographs are extreme close-ups. A smear of butter slowly melting over a cob of corn is probably something you’ve seen a lot at restaurants. These are powerful images that are meant to “awaken our senses” and entice everyone to buy.
So, if you do not have a prop set up for the product, you can use this simple method that’ll leave your clients mesmerized with your product-photos skills. However, in addition to macro images, full shots of your products should be included. Also, products such wire connectors do not require much setting, and will be easier to take photos of.
3.Take Photos of the Product Variation
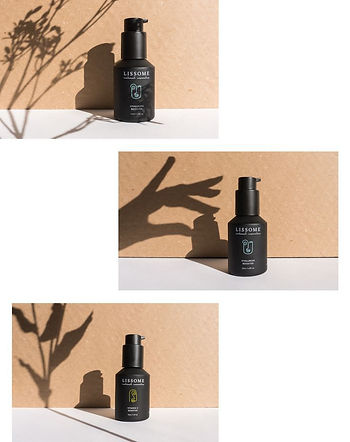
You need to take different photos of the product during the shoot. For instance, if you are taking a photo of reusable closures, you need to take its photos at all angles plus its inside to allow your clients to have a variety of photos to choose from for when they want to display their products on their websites and advertisements.
4.Use Proper Lighting
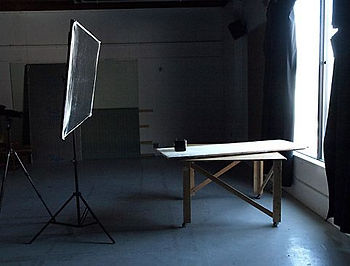
Lighting for product photography comes in two varieties: studio lighting and natural lighting. The product you’re photographing, the purpose of the photo, and the platform you’ll use to promote it will all influence the setting you choose. Natural lighting is ideal for product photography of edible items, people, and clothing, and these natural-looking shots can be used on social media platforms such as Instagram.
If you’re photographing inside, position your product in front of a window to take advantage of all the natural light available. However, if you have the ability to photograph your things outside, do so! Early morning and late afternoon are the greatest times to accomplish this because the sun is out but not too harsh. Days with a slight overcast are also preferable. You’ll get a lot of glare
in your shots, if you pull out your footwear collection at noon when the sun is pounding down.
Artificial product photography lighting, such as background led, on the other hand, is preferred if your product is typically used indoors, and has minute details. Fortunately, learning a few fundamentals and putting together a small studio setup can help you overcome your fear of light.
5. Always Do an Aftershoot Edit
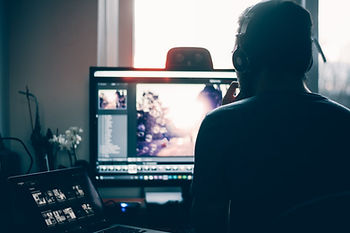
While picture editing is a talent that can significantly improve the quality of a product photograph, these alterations are limited. I like to think of editing as doing minor tweaks to a piece of art that is already stunning. This is a problem if you need to modify the background or fully crop something out.
Try to shoot for the edit while photographing your products. With this approach, you’ll shoot knowing that you’ll only do little edits to improve the image rather than fully change it. This will result in a significantly more stellar outcome.
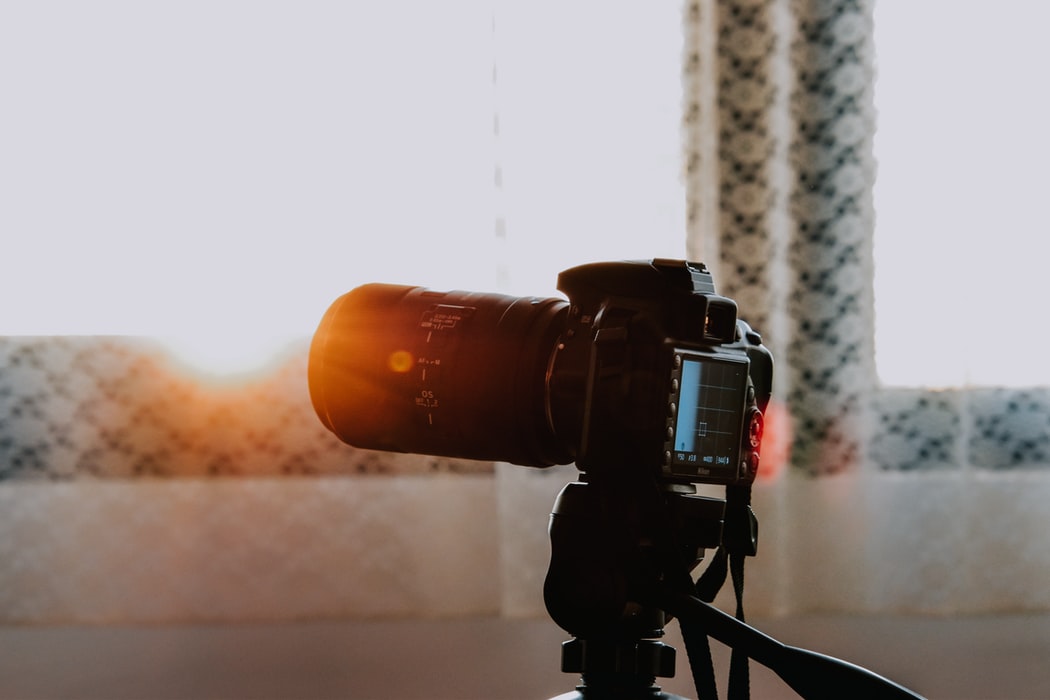
6. Use Tripods

Tripods may appear to be a nerdy, pointless piece of photographic equipment, yet they make a significant difference in the clarity and quality of your product photographs. They’re also not always pricey or difficult to use!
Tripods are simply stands that hold your camera steady while you hold it in your shaking hand. When you use a tripod, you can reduce blur, which is important if you want your product photos to look professional and high-quality.
There are several tripods on the market in various price ranges for every type of camera out there, whether you’re using a fancy DSLR or simply your Phone(whether Android or an iPhone). Get one for your camera. For better-looking product shots, it’s well worth the extra time to set up a tripod.
7. Grow Your Online Portfolio
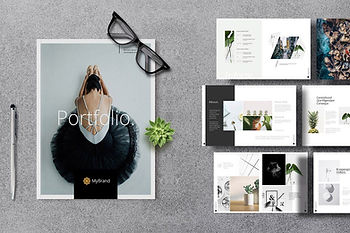
People will never be able to know how great you are unless they can see some of your sample works. A great way to do this is by growing your portfolio on social media platforms and your website.
Being great in the market doesn’t come easily. It comes with great practice and lots of ruined shots. Ultimately, you’ll eventually get better and have a high market pull that will be in demand for your services. Just remember, there’s always something new to learn, be open-minded and interact with people in the industry. All the best!